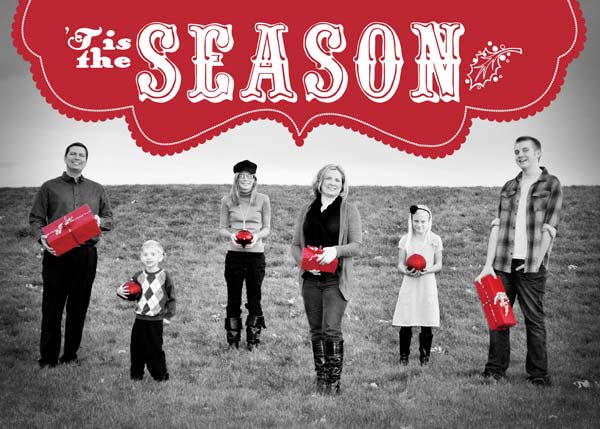
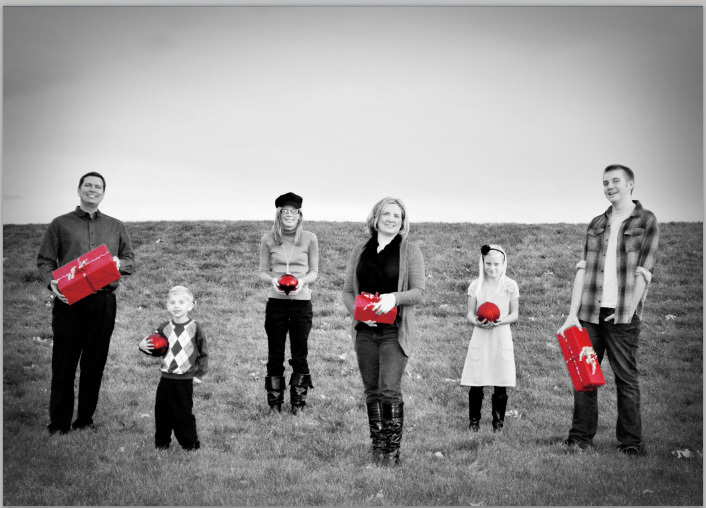
I hope you had a chance to look at Miss B’s tutorials in the December DST Insider! She has a super-fast way to extract objects from photos using the Quick Selection tool in Photoshop/Photoshop Elements. While she used her technique to combine parts of two photos into one, I’m going to show you how to use the same technique to create a Christmas card photo with selectively colored elements like this one I used to design our 2011 family card:
(Look familiar? Yes, Miss B used my photo in her second tutorial, swapping faces.)

This technique is so quick and easy! Here’s how:
1. Open your full-color image in Photoshop/Photoshop Elements. Decide which parts of your photo you want to remain colored and which parts you want to turn black and white.
2. Duplicate your photo layer. Name your original photo “original.” Rename your duplicate layer “black and white.”
3. Turn your duplicated photo to black and white. You can use your software to do this (Image>Adjustments>Black & White) OR you can run a black and white photo action, which is my preferred method. You can find some great black and white photo actions here:
- optikVerve Labs (Download their FREE PS/PSE add-on Virtual Photographer for lots of options.)
- Pioneer Woman (Yes, she also does PS/PSE actions–her black and white action is gorgeous and free!)
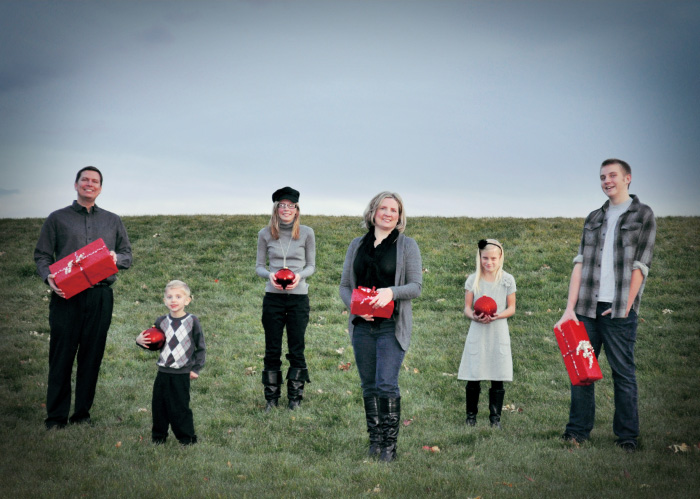
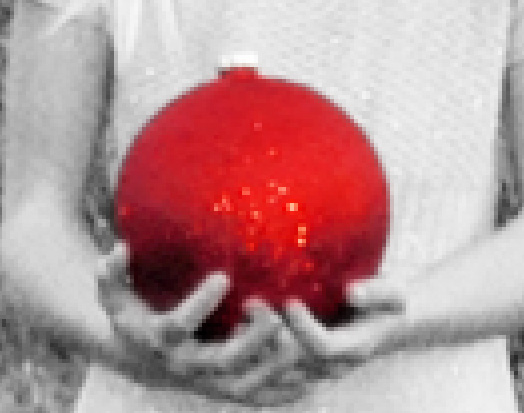
I used an action from My Four Hens to turn my photo from this:

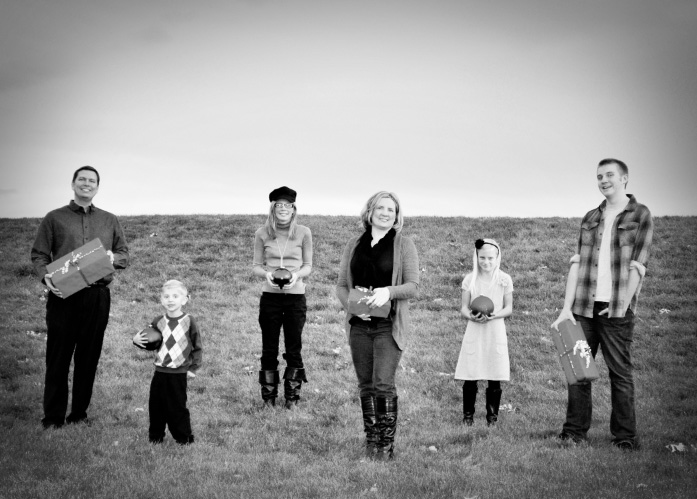
To this:

4. Put your photo layers in order. Arrange your photo layers so that the black and white layer is under the original, full-color layer in the Layers palette.
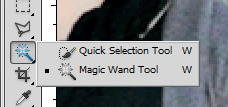
5. Activate the Quick Selection tool. Now, duplicate your full-color photo again, click on it in the Layers palette and activate the Quick Selection tool. The Quick Selection tool is nested with the Magic Wand tool and looks like a dotted circle with a paint brush. You may need to right-click on the Magic Wand tool and then click on the Quick Selection tool icon to use it.

Look at the Quick Selection tool toolbar at the top of your screen (pictured below): The symbol with the “+” and the brush ADDS to your selection (the area you want to have selectively colored). The symbol with the “-” and the brush SUBTRACTS from your selection. Click on the symbol with the “+.”

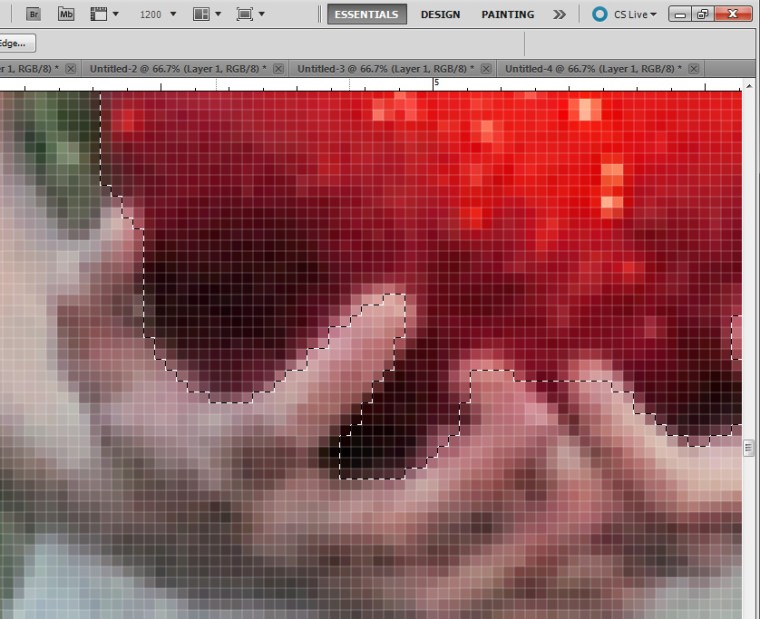
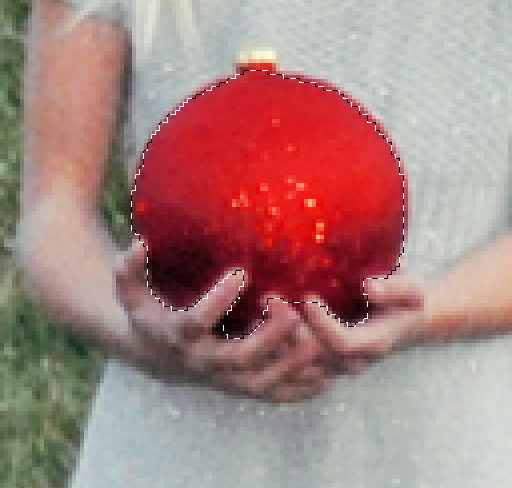
6. Use the Quick Selection tool to highlight areas on your photo to remain colored. With the duplicated original layer selected in the Layers palette, use the Quick Selection tool to “paint” on the areas you want to remain colored by holding down the left mouse button and moving your cursor over the area you want. Lift up on the mouse button when you want to move the cursor on an area you don’t want to paint. The area you paint on should start to be surrounded by marching ants (selected). To remove part of an area from your selection, click on the symbol with the “-” and paint again while holding down the left mouse button. If you have a lot of areas you want to remain colored, you may need to repeat steps five to eight for each separate area.
7. Zoom in very closely (CTL +) to make sure you get all the details.

Switch back and forth from “+” and “-,” painting as needed until the area you want to remain colored is selected to your satisfaction.

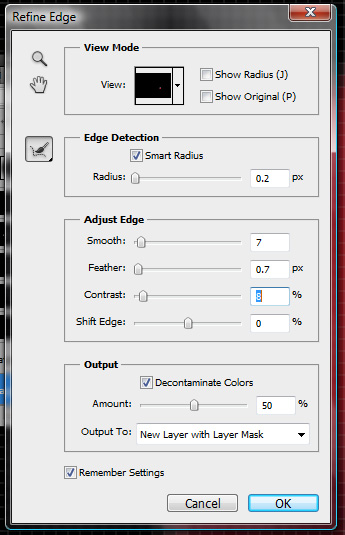
8. Refine the edge of your selection and output it to a layer mask. Look at the Quick Selection tool toolbar at the top of your screen and find the Refine Edge button. Click on it.

The Refine Edge dialog box will pop up. Below are the settings I used when I created my image. Play with them until you are happy. Make sure you have Output To set to New Layer with Layer Mask.

Click OK. Your selection will be put into its own layer in the Layers palette with a layer mask showing only the area you want selectively colored. Turn off your original, full-color layer (click on the eyeball next to it in the Layers palette) and you should see your selectively colored area on top of the black and white layer.

9. Repeat steps five to eight for each individual area you want selectively colored then adjust any layer masks as needed. Reduplicate your original layer and use the Quick Selection tool for each separate area you want to remain colored. I did this six times, once for each red item in my photo. The beauty of using layer masks is that it is easy to go back and adjust them as needed. To adjust a layer mask, click on it in the Layers palette and then “paint” on it with black (to remove areas) or white (to reveal areas) using the Brush tool.

10. Save your work, complete your design and order prints. After you’re happy with your photo, save it and add any design elements you choose. I created a bracket shape with a scalloped edge and white beaded stripe plus some word art to finish my card. I saved my document again as a .psd file once I was happy with the layout. Finally, I saved my card as a high-quality .jpeg file and uploaded it to one of my favorite online printers, Shutterfly, to order my five-by-seven-inch glossy folded greeting cards.

Easy! I just love using the Quick Selection tool. Give it a try and link me up to your project in the comments 🙂
 We would decorate the tree with hand-made ornaments, perform the First Christmas Story as a family on Christmas Eve, design and make gingerbread houses and handmade chocolates, and sing The Holy City in honor of a beloved ancestor. And that was just the beginning! Continue reading “#LIGHTtheWORLD: My FREE Anonymous Service Kit”
