My 2024 Youth Theme calendars are finally ready! This year is the 12th year for my printable calendars! Thank you to everyone who has supported this project over the years. I’m thrilled to present this… More

Printables + Ideas
My 2024 Youth Theme calendars are finally ready! This year is the 12th year for my printable calendars! Thank you to everyone who has supported this project over the years. I’m thrilled to present this… More
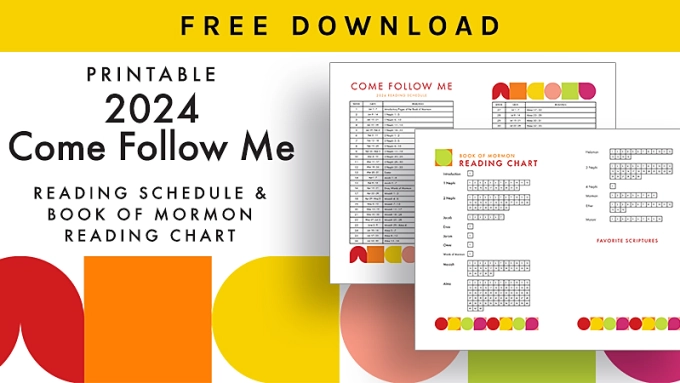
Looking for 2024 Come Follow Me resources? I’ve got a free printable PDF CFM schedule and a printable PDF Book of Mormon reading chart for you! Each one comes in three versions! I’ve created this… More

Looking for 2023 Come Follow Me resources? I’ve got a free printable PDF CFM schedule and a printable PDF New Testament reading chart for you! In celebration of my eleventh anniversary, I’ve created this bonus… More

To celebrate the eleventh anniversary of this blog, I’m having a big anniversary sale in my Etsy shop (everything 50% off!) and offering you a new freebie download!

Today’s freebie is a printable Young Women journal. These ready-to-print 24-page journals make great Christmas or birthday gifts. You get both color and black and white versions of the covers and inside pages. Need to save on ink? Print the black and white version to create coloring book journals for your girls.
Continue reading “LDS YW Young Women Journals [Free Printable] and a Sale!”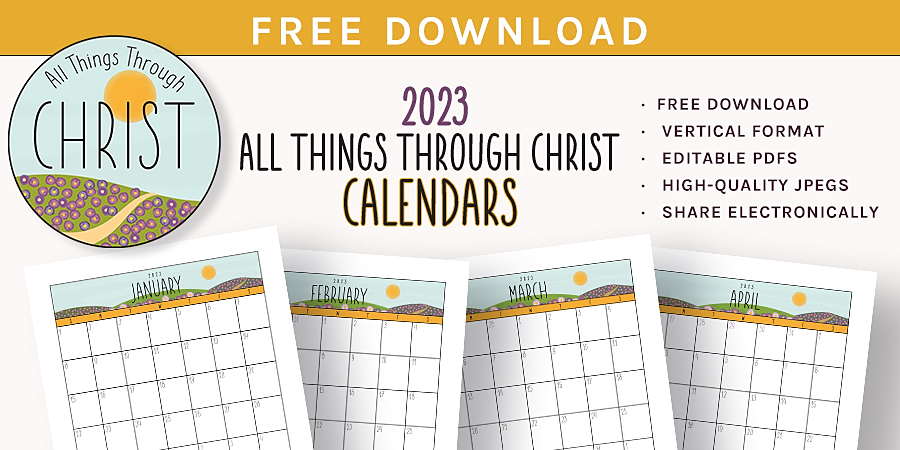
My 2023 Youth Theme calendars are ready!

This year is the 11th year for my printable Young Women calendars! I am awed that so many readers have downloaded them since I posted the first ones back in 2012. I’m even more excited to present this year’s edition.
Scroll to the end of this post where you can download the free VERTICAL version of these calendars.
Continue reading “2023 Youth Theme All Things Through Christ Calendars: Editable PDF & JPEG [Vertical] Free Download!”
My 2023 Youth Theme calendars are ready!

This year is the 11th year for my printable Young Women calendars! I am awed that so many readers have downloaded them since I posted the first ones back in 2012. I’m even more excited to present this year’s edition.
Scroll to the end of this post where you can download the free HORIZONTAL version of these calendars.
Continue reading “2023 Youth Theme All Things Through Christ Calendars: Editable PDF & JPEG [Horizontal] Free Download!”
The new 2023 LDS Youth Theme has been announced by the Church of Jesus Christ of Latter-day Saints!
“I can do all things through Christ which strengtheneth me.”

To help you inspire the Young Women you serve, I’ve created some fun posters and other coordinating printables featuring the 2023 Youth Theme and made a special free download just for you. (Scroll all the way to the end of this post for the link to your free download.)
Continue reading “2023 LDS Youth Theme Posters: All Things Through Christ [Free Printable Handouts]”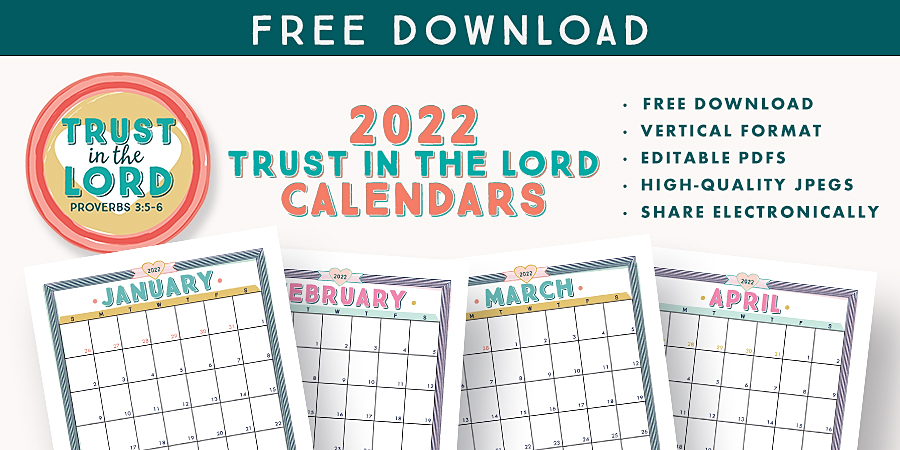
My 2022 Youth Theme calendars are ready!

This year is the 10th year for my printable Young Women calendars! I am awed that they have been downloaded by approximately twenty-thousand readers since I posted the first ones back in 2012. I’m even more excited to present this year’s edition.
At the end of this post, you can download the VERTICAL version of these calendars.
Continue reading “2022 Youth Theme Trust in the Lord Calendars: Editable PDF & JPEG [Vertical] Free Download!”
My 2022 Youth Theme calendars are ready!

This year is the 10th year for my printable Young Women calendars! I am awed that they have been downloaded by approximately twenty-thousand readers since I posted the first ones back in 2012. I’m even more excited to present this year’s edition.
FIND THE 2023 VERSION OF THESE CALENDARS HERE.
At the end of this post, you can download the HORIZONTAL version of these calendars.
Continue reading “2022 Youth Theme Trust in the Lord Calendars: Editable PDF & JPEG [Horizontal] Free Download!”
The new 2022 LDS Youth Theme has been announced by the Church of Jesus Christ of Latter-day Saints!
“Trust in the Lord with all thine heart; and lean not unto thine own understanding. In all thy ways acknowledge him, and he shall direct thy paths” (Proverbs 3:5–6).

This scripture was selected to encourage our youth to trust in God, even when things get hard.
To help you inspire the Young Women you serve, I’ve created some fun posters and other coordinating printables featuring the 2022 Youth Theme and made a special free download just for you. (Scroll all the way to the end of this post for the link to your free download.)
Continue reading “2022 LDS Youth Theme Posters: Trust in the Lord [Free Printable Handouts]”
Looking for an engaging and fun Mother’s Day project for your kids, elementary class, Primary class or Young Women this year? I’ve just loaded my Etsy shop with some cute printables designed to make Mom’s special day a memorable celebration. As a bonus, I’ve created four fun (and FREE) Mother’s Day coloring pages for you! (Download link at the end of this post.)

Use these Mother’s Day coloring pages for the members of your school class, preschool, Primary class, Young Women group, or print for your kids.
Plus, check out the coordinating Mother’s Day Colorables collection in my Etsy shop: Mother’s Day Booklet, Happy Mother’s Day Banner, Mother’s Day Printable Gift Boxes and Cupcake Toppers. Want more than one of these sets? Get the whole collection of printables in my Mother’s Day Mega Pack and create a truly unique celebration!

By popular request, I present my 2021 Youth Theme calendars!
At the end of this post, you can download the VERTICAL version of these calendars.
Purchase the 2022 version of these calendars here. (Includes editable PDFs, JPEGS & Microsoft Word templates.)

By popular request, I present my 2021 Youth Theme calendars!
At the end of this post, you can download the HORIZONTAL version of these calendars.
Purchase the 2022 Trust in the Lord version of these calendar templates here. Includes editable PDF files, JPEGs and Microsoft Word templates.
